Nondestructive Testing
Employees performing nondestructive testing such as X-ray, visual testing, penetrant testing and ultrasonic testing are all EN9712 certified.
Thoni Alutec Nondestructive Testing (NDT)
We make continuous efforts to perfect the quality systems for both our personnel and our technical equipment. All employees performing nondestructive testing such as X-ray, visual testing, penetrant testing and ultrasonic testing are EN9712 certified. In addition, they hold the necessary qualifications to issue international test certificates.
Nondestructive tests are a group of test methods which give information about the quality of the product without the need to destroy it. That is why they can be performed on every part produced, at different stages, such as production, use, servicing and modifications. The aim of nondestructive testing is above all detection and evaluation of nonconformities in the form of discontinuities in the material.
In our foundries, we perform:
Visual Test (VT)
The Visual Test is a basic NDT test, which allows for detection of surface-breaking discontinuities—it’s a surface examination method—and directly evaluate their size and characteristics. The Visual Test is performed as the first of all the planned NDT tests for a process. The method allows for detection of a variety of nonconformities, such as shape defects, dimensional deviations, incorrect assembly, surface discontinuities (cracks, pores, undercuts, lack of fusion etc.), wear and tear (corrosion, fatigue cracking, leaks etc.).
Visual Testing uses the inspector’s vision directly or with the help of simple optical instruments (a magnifying glass or an inspection mirror). The basic medium for transmitting information here is light.
For VT, it is important to maintain the necessary test parameters, such as illuminance on the test surface, the angle of vision and the distance between the inspector and the surface.
Visual Testing includes:
Direct Visual Testing—where there is a continuous path between the test surface and the inspector’s eye. Direct Visual Testing techniques are most commonly used and they utilize technical aids, such as: magnifying glasses of various kinds, mirrors, borescopes and fiberscopes. In the case of inspecting locations with limited access, the method is not 100% effective.
Remote Visual Testing—allows for a break in the path between the test item and the receiver, which in this case is the inspector’s eye. The method utilizes specialist, very expensive equipment, such as modern video endoscopes which allow for reaching hardly accessible areas and documenting the process in the form of photographs or videos.
Our inspectors who perform Visual Testing are EN ISO 9712 certified.
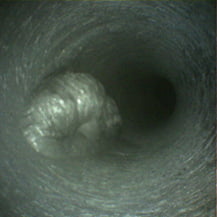
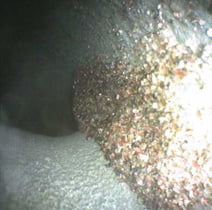
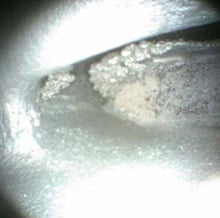
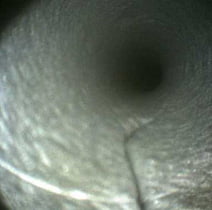
Sample photographs showing a test using a video endoscope.
Penetrant Tests (PT)—nondestructive tests
The penetrant method is a nondestructive testing method. It is used for detecting narrow surface discontinuities. It is used for carbon steels and alloy steels, as well as aluminium alloys, copper alloys, titanium alloys and ceramics (apart from porous materials).
The basic principle of this method is capillary action, thanks to which the penetrant reaches the finest surface-breaking discontinuities in the material. Next, a developer is used, which interacts with the penetrant, revealing indications.
The general procedure for PT is as follows:
- Surface preparation,
- Penetrant application,
- Removal of excess penetrant,
- Developer application,
- Examination,
- Cleaning the test surface.
A standard set of equipment for PT consists of:
- A penetrant,
- A remover,
- A developer.
There are two basic test techniques:
– Dye, where the penetrants are red in colour and the evaluation of indications is performed in white light,
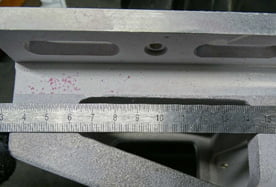
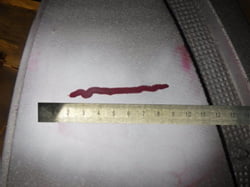
Sample photos of indications obtained using a dye penetrant.
– Fluorescent, where the penetrants use a fluorescent dye, and the evaluation of indications takes place in a dark room and requires the use of UV-A light of suitable illumination.
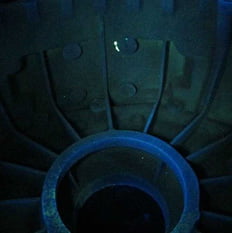
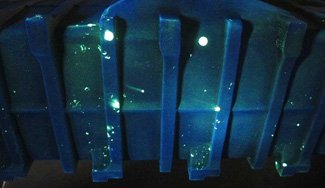
Sample photos of indications using a fluorescent penetrant.
Here, at Thoni Alutec, all penetrant systems are EN 3452-1 and ASTM E1417 certified and our inspectors hold EN ISO 9712 and EN4179/NAS410 certifications.
Radiographic Testing (RT)
The radiographic method is a volumetric method. It allows for detection of internal and sub-surface discontinuities using X-ray and gamma radiation. It is used in the process of production and use of industrial equipment, especially in welding joints (structures, pipelines), castings, forgings etc. In castings, this method allows for detection of: cracks, shrinkage cavities, inclusions, gas holes, porosities and other unacceptable internal discontinuities. It also allows for assessing their shape and size. Radiographic testing can be performed on all metals, their alloys and non-metallic materials.
The method utilizes a beam of ionizing radiation in order to show the material structure of a test item. The radiation beam is generated by industrial X-ray generators (X-ray radiation) or isotopic sources (gamma radiation) and is directed to the test item. Next, the radiologic image of the item is fixated on a defectoscope positioned on the opposite side. The image is obtained thanks to the difference in absorption of radiation coming through different sections of the test item.
Test methods:
- Real-time Radioscopy, where the operator can freely move the casting situated between the tube and the detector, in order to observe any areas required for inspection. A five-axis control system allows for extensive observation of the necessary sections of the casting, and the image generated by the detector is sent to the operator in the control booth, where they can directly observe the discontinuities present in a given area.
- Radiography, where X-ray film is used for recording information from an inspection. The records are made by shortly exposing an X-ray film placed behind the test item to radiation. Then, as a result of a photochemical reaction, an image of the test item is developed and fixated. Radiographs made in this way are stored as per customer requirements.
- Digital Detector Array Radiography (DDA), where, similar to classical radiography, the test involves taking single photographs of the test item, but here, the film is replaced by a high-resolution detector. The image is obtained by superimposing a few dozen to a few hundred frames, which are then averaged. This allows for obtaining a high quality image, which is then evaluated in a special laboratory. Radiographs made this way are stored in digital form as DICONDE files, which allows for saving archive space and for lossless data storage.
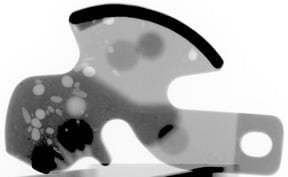
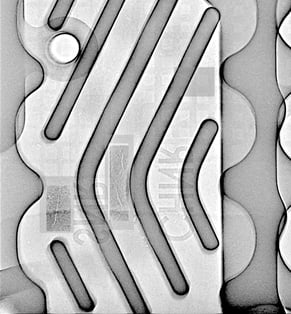
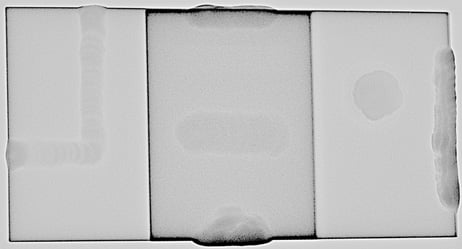
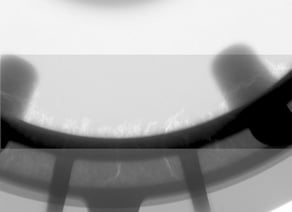
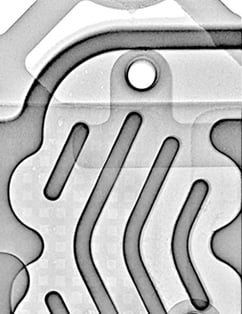
Sample defect images obtained using various test methods.
In terms of our technical equipment, we use cutting-edge devices, which require periodic calibration. For example, for X-ray tests, we use an innovative, numerically controlled chamber. With its 12 axes, it allows for tests on castings 12m x 3.5m x 4m in size and enables us to make numerical records on a CD, DVD, hard drive or on film.
Address
Thoni Alutec Sp. z o.o.
ul. Przyszowska 1 37-450 Stalowa Wola Poland

